提出用課題 RINE

SpringBootを使ったWebサイトを作成する。

プロジェクト名: RINE
Spring Boot Version: 2.2.1

hsqldb.bat

cd data
java -classpath ../lib/hsqldb.jar org.hsqldb.server.Server ^
--database.0 db/shindan --dbname.0 shindan ^
--database.1 db/bookshelf --dbname.1 bookshelf ^
--database.2 db/rine --dbname.2 rine

application.properties

spring.datasource.url=jdbc:hsqldb:hsql://localhost/rine
spring.datasource.username=SA
spring.datasource.password=
spring.datasource.driver-class-name=org.hsqldb.jdbc.JDBCDriver
spring.jpa.hibernate.ddl-auto=update

作成するページとURL

ページ名 URL 内容
トップページ http://localhost:8080/ ともだちリストを表示し、ともだち追加ができる
ともだち http://localhost:8080/friend/ 選択したともだちに送信した投稿の一覧を表示する。新規に投稿する。
ともだち編集ページ http://localhost:8080/friend/edit/{id} ともだちの名前と画像を変更できる
ともだちブロックページ http://localhost:8080/friend/block/{id} ともだちをブロックする

作成するエンティティ

Friend
・id : long
・name : String
・image : String
・blocked : boolean
・posts : List
Post
・id : Long
・time : java.util.Date
・content : String
・friend : Friend

トップページ

テンプレート: index.html

  • サイトタイトル
  • 学籍番号と名前
  • ともだちリスト
  • ともだち追加フォーム

ともだちごとのページ

テンプレート: talk.html

  • ともだちの名前
  • ともだちのアイコン
  • 修正ページへのリンク
  • ブロックorブロック解除のリンク
  • 送信したメッセージのリスト
  • メッセージ送信フォーム

ともだち修正ページ

テンプレート: editfriend.html

  • アイコン表示
  • 修正フォームで名前と画像URL

ともだちブロックページ

テンプレート: blockfriend.html

  • アイコン表示
  • ブロック or ブロック解除 ボタン

配点

  1. トップページに指定の内容を表示: 10点
  2. トップページをCSSでデザイン変更: 10点
  3. ともだち追加できる: 10点
  4. ともだち追加で画像URLを入力するとプレビューを表示する: 10点
  5. トップページからともだちページに行ける: 10点
  6. ともだちページに指定の内容を表示: 10点
  7. ともだちページからメッセージを送信できる: 10点
  8. ともだちページをCSSでデザイン変更: 10点
  9. ともだち修正ページを表示できる: 10点
  10. ともだち修正で名前と画像を修正できる: 10点
  11. ともだち修正で画像URLを入力するとプレビューを表示する: 10点
  12. ともだち修正ページをCSSでデザイン変更: 10点
  13. ともだちページからブロックページに行ける: 10点
  14. ともだちをブロック/ブロック解除できる: 10点
  15. ともだちブロックページをCSSでデザイン変更: 10点

Bookshelfアプリケーションを参考にする

Bookshelfに複数のBookを収納できる。
  ↓(ほぼ同じ内容)
Friendに複数のPostを送信できる。

BookshelfをFriendに置きかえ、BookをPostに置きかえればよい。

違う点は、BookshelfではBookにimageがあったが、RINEではFriendにimageがある。

課題の提出方法

pom.xml で以下の場所を修正する。(11を8にする)

	<properties>
		<java.version>8</java.version>
	</properties>

プロジェクト RINE を右クリックして、[実行]-[maven install]を選択する。

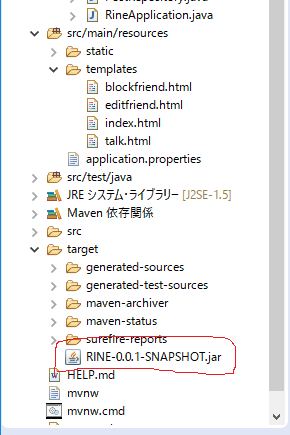
RINE-0.0.1-SNAPSHOT.jar ファイルができる。

動作確認

コマンドプロンプトを起動する。
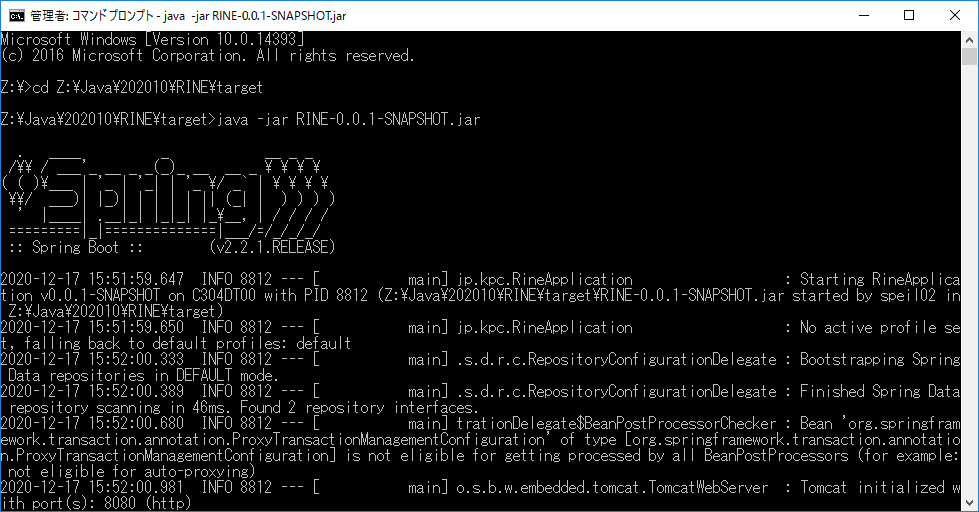
以下のコマンドを実行すると、Spring Bootが起動する。
http://localhost:8080/
にアクセスして、動作することを確認する。

Z:\>cd Z:\Java\202010\RINE\target  ←自分のPCの環境に合わせる
Z:\Java\202010\RINE\target>java -jar RINE-0.0.1-SNAPSHOT.jar

提出先

「提出\システム開発実習\1917XXX」(←XXXは学籍番号に合わせる)フォルダを作成し、そこに RINE-0.0.1-SNAPSHOT.jarをコピーする。

提出期限:12月23日(水)

JavaScriptで動きをつけてみる

本の編集画面で画像URLを入力したときに、画像のプレビューを表示する。

src/main/resources にある static フォルダに js フォルダを新規作成する。
そのフォルダに、jQueryファイルを貼り付ける。

まず、開発者ツールのJavaScriptコンソールでやりたい動きを確認する。
うまく動いたら、その内容を script タグ内に記述する。

imgタグに表紙という意味でid=coverを割り当てておく。

editbook.html

<!DOCTYPE html>
<html xmlns:th="http://www.thymeleaf.org">
<head>
<meta charset="UTF-8">
<title>Book - 本の編集</title>
<script src="/js/jquery-1.12.4.min.js"></script>
<script type="text/javascript">
$(function() {
	$('[name=image]').on('keyup', function() {
		$('#cover').prop('src', $(this).val());
	})
});
</script>
</head>
<body>

<a href="/">トップ</a>

<h1>本の編集</h1>

<img id="cover" th:src="${book.image}" width="200" />

<form action="/book/edit" method="post">
	<input type="hidden" name="id" th:value="${book.id}" />
	<div>タイトル: <input type="text" name="title" th:value="${book.title}" /></div>
	<div>著者: <input type="text" name="author" th:value="${book.author}" /></div>
	<div>画像URL: <input type="text" name="image" th:value="${book.image}" /></div>
	<div><input id="submit" type="submit" value="修正" /></div>
</form>


</body>
</html>

本のリストの画面も同じような動きになるように修正してみる。

books.html

<!DOCTYPE html>
<html xmlns:th="http://www.thymeleaf.org">
<head>
<meta charset="UTF-8">
<title>Book - 本のリスト</title>
<script src="/js/jquery-1.12.4.min.js"></script>
<script type="text/javascript">
$(function() {
	$('[name=image]').on('keyup', function() {
		$('#cover').prop('src', $(this).val());
	})
});
</script>
</head>
<body>

<h1>Book list</h1>

<a href="/">トップ</a>

<table>
	<tr>
		<th>ID</th><th>画像</th><th>タイトル</th><th>著者</th><th>本棚</th>
	</tr>
	<tr th:each="book : ${list}">
		<td th:text="${book.id}"></td>
		<td><img th:src="${book.image}" height="50" /></td>
		<td><a th:href="@{'/book/' + ${book.id}}" th:text="${book.title}"></a></td>
		<td th:text="${book.author}"></td>
		<td th:if="${book.bookshelf != null}" th:text="${book.bookshelf.name}"></td>
		<td th:if="${book.bookshelf == null}" th:text="本棚に入れてません"></td>
	</tr>
</table>

<hr />

<div>新しい本</div>
<img id="cover" src="" width="200" />
<form action="/addbook" method="post">
	<div>タイトル: <input type="text" name="title" /></div>
	<div>著者: <input type="text" name="author" /></div>
	<div>画像URL: <input type="text" name="image" /></div>
	<div><input id="submit" type="submit" value="+追加" /></div>
</form>


</body>
</html>

今のままでは、画像URLを入力しても保存していないので、サーバー側に画像URLを保存する処理を追加する。

	@RequestMapping(value="/addbook", method=RequestMethod.POST)
	public ModelAndView formPost(ModelAndView mav,
			@RequestParam("title") String title,
			@RequestParam("author") String author,
			@RequestParam("image") String image) {
		Book book = new Book();
		book.setTitle(title);
		book.setAuthor(author);
		book.setImage(image);
		repository.saveAndFlush(book);
		return new ModelAndView("redirect:/books");
	}